Auto ingestion of GitHub Actions workflows in Ontrack
Starting with Ontrack 4.1, you can configure your GitHub organizations and repositories to automatically send GitHub Actions workflows events to Ontrack, in order to record the activity of all your pipelines.
In a first part, this article will explain how to configure GitHub & Ontrack. The second part will detail how to use and configure the workflow information.
For Jenkins users, you can find a similar tutorial in this article. There is however is big difference: for Jenkins, you have to adapt your pipelines so that they talk to Ontrack, whereas with the GitHub Ingestion, you only need to work at configuration level, leaving your pipelines as they are today.
Prerequisites
For this tutorial, you'll need:
- a GitHub account
- an Ontrack installation. If you don't have one, you can use the next section to setup a local installation.
Installation of Ontrack
The Ontrack quick start uses the following Docker Compose command:
curl -fsSLO https://raw.githubusercontent.com/nemerosa/ontrack/master/compose/docker-compose.yml
docker compose up -d
After a bit less than a minute, Ontrack will be available at http://localhost:8080 and the default credentials are admin / admin.
Make your local installation visible on Internet by using ngrok:
ngrok http 8080It outputs two forwarding addresses, note down the https one, something like https://6840-2a02-a03f-6bf1-bf00-ddec-cdc7-2e35-2c8e.ngrok.io. This will be the root URL of your Ontrack local installation.
A public URL is needed for the configuration of the webhook in GitHub.
Configuration
Generating a Webhook token
Start by generating a unique security token, which will be used to secure the connection between GitHub and Ontrack. For example, you can use:
openssl rand -hex 20and copy the generated string.
Getting a GitHub token
Ontrack needs to connect to GitHub and while advanced options like GitHub Apps are available, we'll use a simple Personal Access Token for this tutorial.
Go to https://github.com/settings/tokens and click on Generate new token.
Enter any name and select the following permissions:
repo
Copy the generated token.
Configuration of Ontrack
In Ontrack, go to your user menu and select GitHub configurations and click on Create a configuration.
In Name enter GitHub (for example).
Leave the URL empty (https://github.com is assumed by default).
In OAuth2 Token, enter the GitHub token you have generated in the previous section.
Click on OK.
Now, go again to your user menu and select Settings and navigate to the GitHub workflow ingestion section. Click on Edit.
In Token, enter the Webhook token you have generated in a previous section and click OK (leave all the other parameters with their default values).
The configuration of Ontrack is finished. Note that in a production environment, everything could be configured as code.
Configuration of GitHub
When you want to configure GitHub to send pipeline events to your Ontrack installation, you can choose to do this at the organization level or at the repository level.
For this tutorial, we'll choose to do this at repository level.
To get quickly started, you can clone the following repository in your organization: https://github.com/nemerosa/blog-2022-ontrack-github-ingestion but the instructions thereafter are valid for any repository having a GitHub Actions workflow in place.
In GitHub, go to the settings of your repository, navigate to Webhooks and click on Add webhook.
In Payload URL, enter <Ontrack root URL>/hook/secured/github/ingestion.
Select application/json in Content type.
In Secret, enter the Webhook secret you have generated before.
Select the Let me select individual events option and select the following events:
- Pull requests
- Pushes (selected by default)
- Workflow jobs
- Workflow runs
Click Add webhook to register your webhook.
Back on the list of webhooks, you can check that everything is working fine by clicking on the webhook name and navigating to Recent Deliveries. You should see a ping event having been sent to Ontrack and acknowledged with HTTP 200 and a message looking like Ingestion request 7028cfeb-f8b0-45f0-b640-50d69d1a1397/ping has been received correctly but won't be processed:
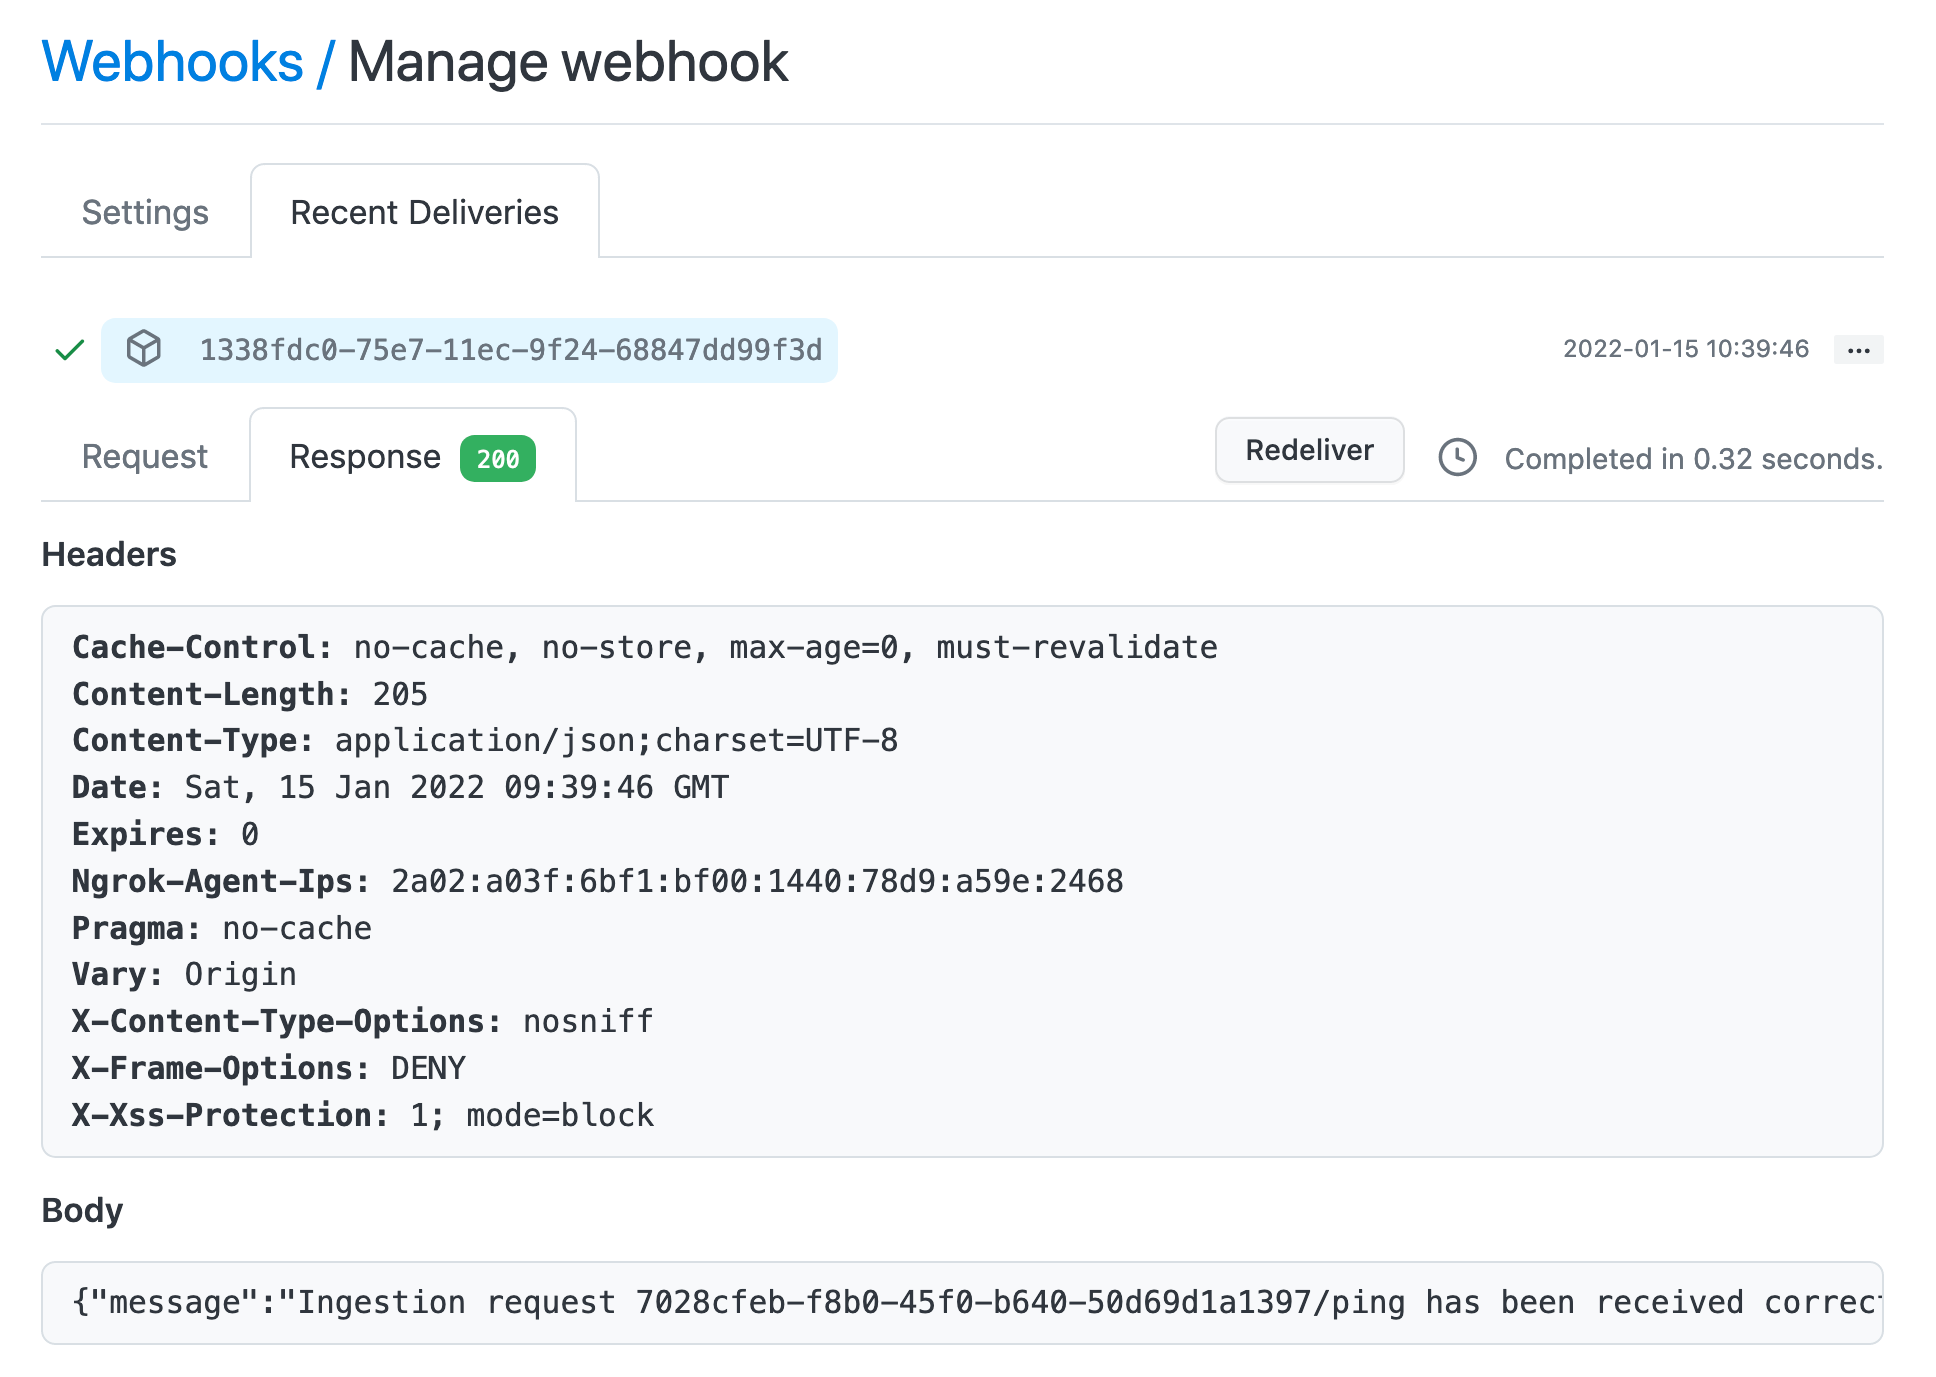
Now, the bidirectional configuration between Ontrack and GitHub is complete and we can start running GitHub Actions workflows and see how their information is collected in Ontrack.
Running a workflow
We'll use a very simple workflow as an example, just to illustrate what's possible to do, but any workflow will be understood by Ontrack, following exactly the same principles:
- GitHub repositories will be saved in Ontrack as projects
- Git branches will be saved in the Ontrack projects as Ontrack branches
- Every workflow run generates a build in Ontrack
- Every step (and job and run optionally) generates a validation run in Ontrack
- Both builds and validation runs are associated with meta information like its duration
Let's use the following workflow (already available if you're using the sample repository mentioned above):
on:
   push:
      branches:
         - main
jobs:
   build:
      runs-on: ubuntu-latest
      steps:
         - uses: actions/checkout@v2
         - run: echo Simple step
         - run: |
            echo Multiline
            echo step
Nothing fancy indeed, but it's enough to get us started.
Let's commit and push some changes to force the execution of this workflow. For example, add the fact that this workflow should also run for pull requests which target the main branch:
on:
   push:
      branches:
         - main
   pull_request:
      branches:
         - main
jobs:
   build:
      runs-on: ubuntu-latest
      steps:
         - uses: actions/checkout@v2
         - run: echo Simple step
         - run: |
            echo Multiline
            echo step
Commit and push the change, and see the GitHub Actions workflow being run in your repository. It should look like:

In Ontrack, go your home page and you should see that a project with the same name of your repository has been created:
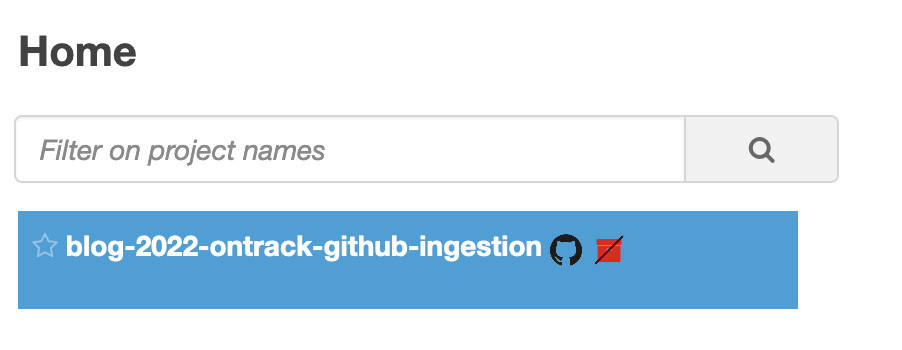
Note: the red icon will disappear after some time, once some background jobs have run in Ontrack.
Click on the project and you should see your branch:
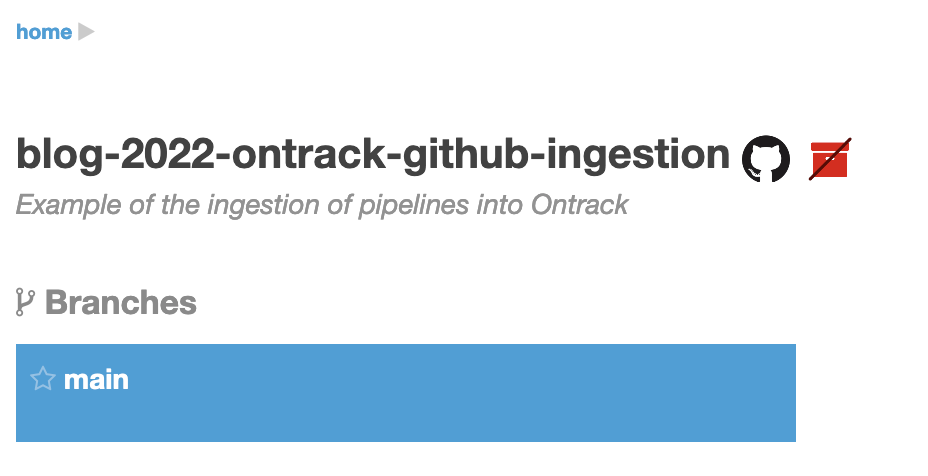
Click on your branch:
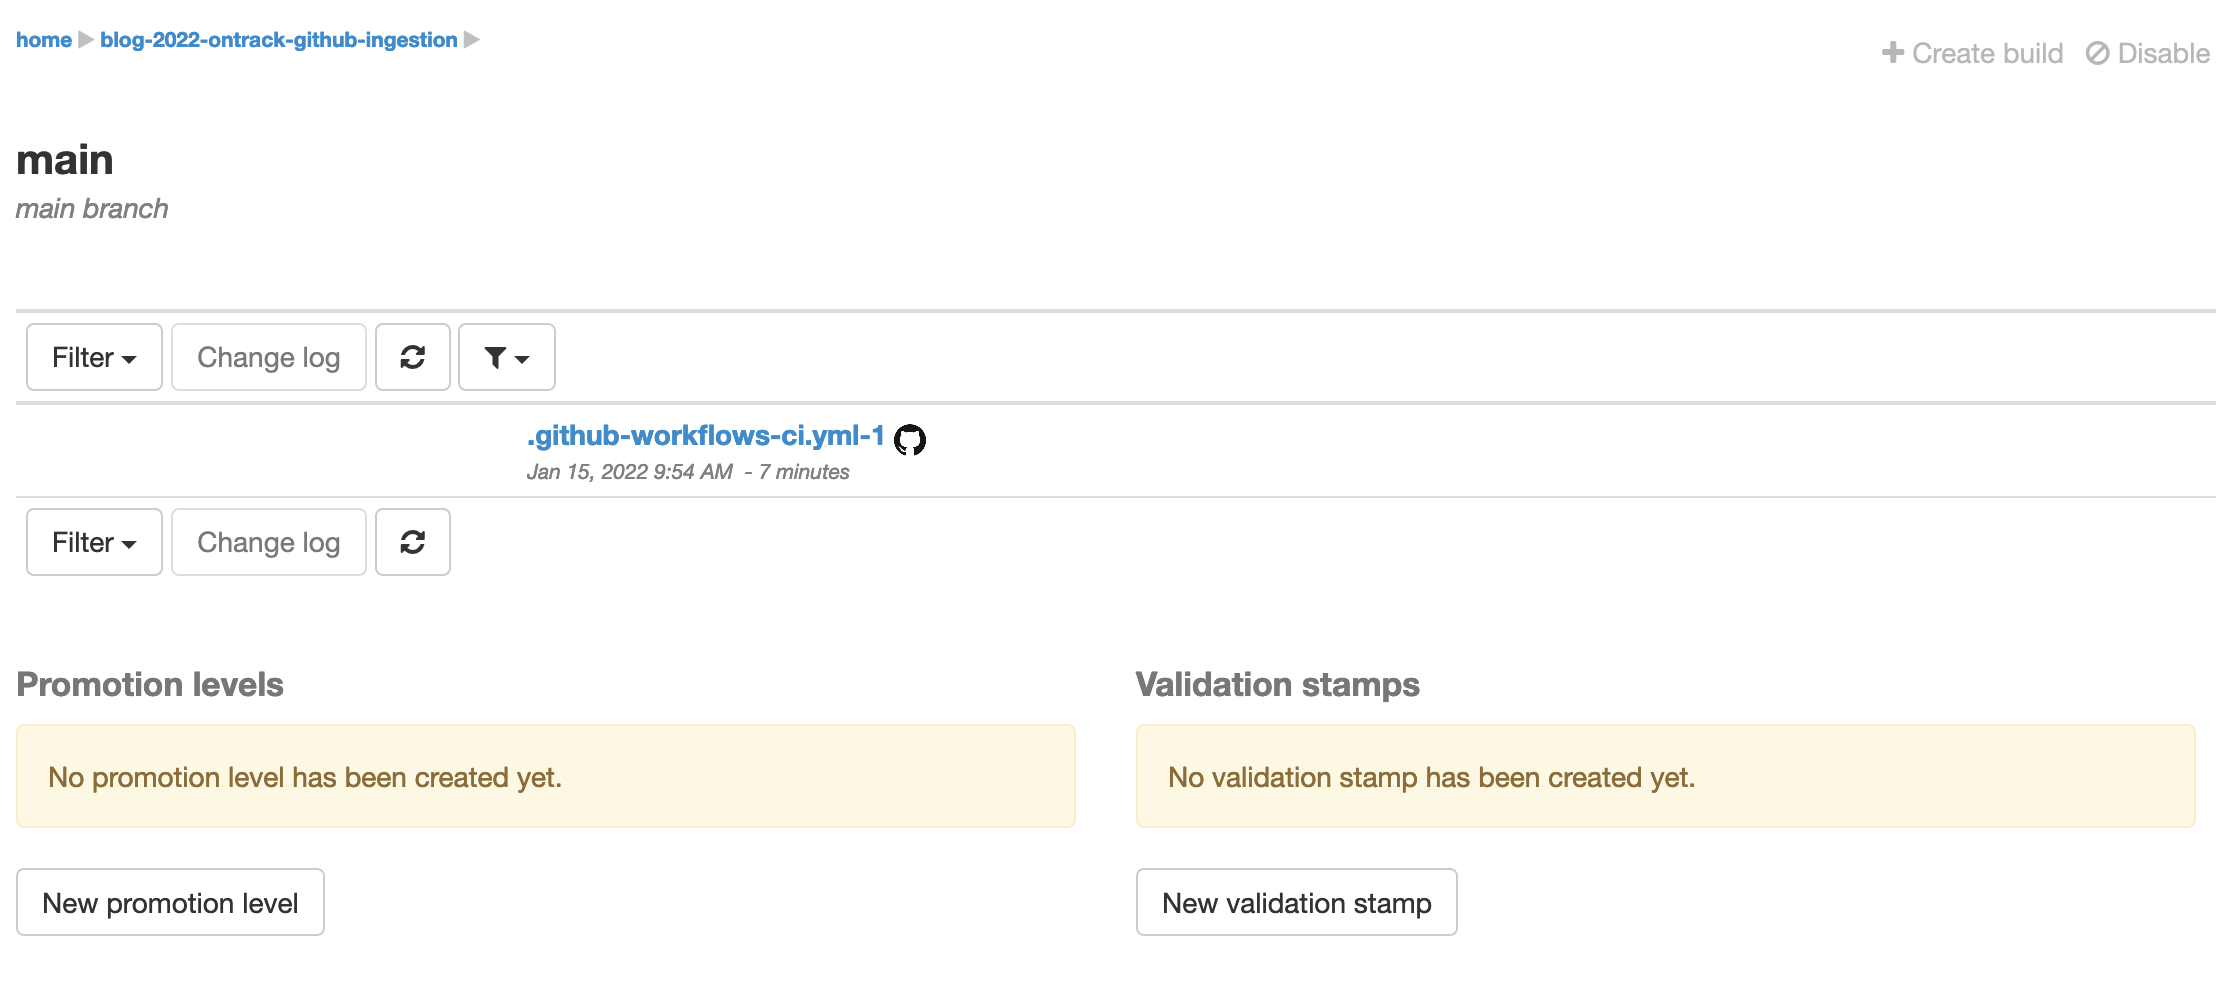
If you're familiar with Ontrack already, you can think that we don't see very much in there for now:
- a build named
.github-workflows-ci.yml-1has been created - the GitHub action next to it is actually a link to the GitHub workflow which has created it in the first place
- but no validation nor promotion has been created to collect more information about this build
Ontrack won't create validation for anonymous steps in your workflow. You have to give them names in order to see them:
Let's add some names to the different steps:
on:
   push:
      branches:
         - main
   pull_request:
      branches:
         - main
jobs:
   build:
      runs-on: ubuntu-latest
      steps:
         - name: Checkout
           uses: actions/checkout@v2
         - name: Simple step
           run: echo Simple step
         - name: Multiline step
           run: |
             echo Multiline
             echo step
Commit and push, wait for the GitHub Actions workflow to run and check your branch again:
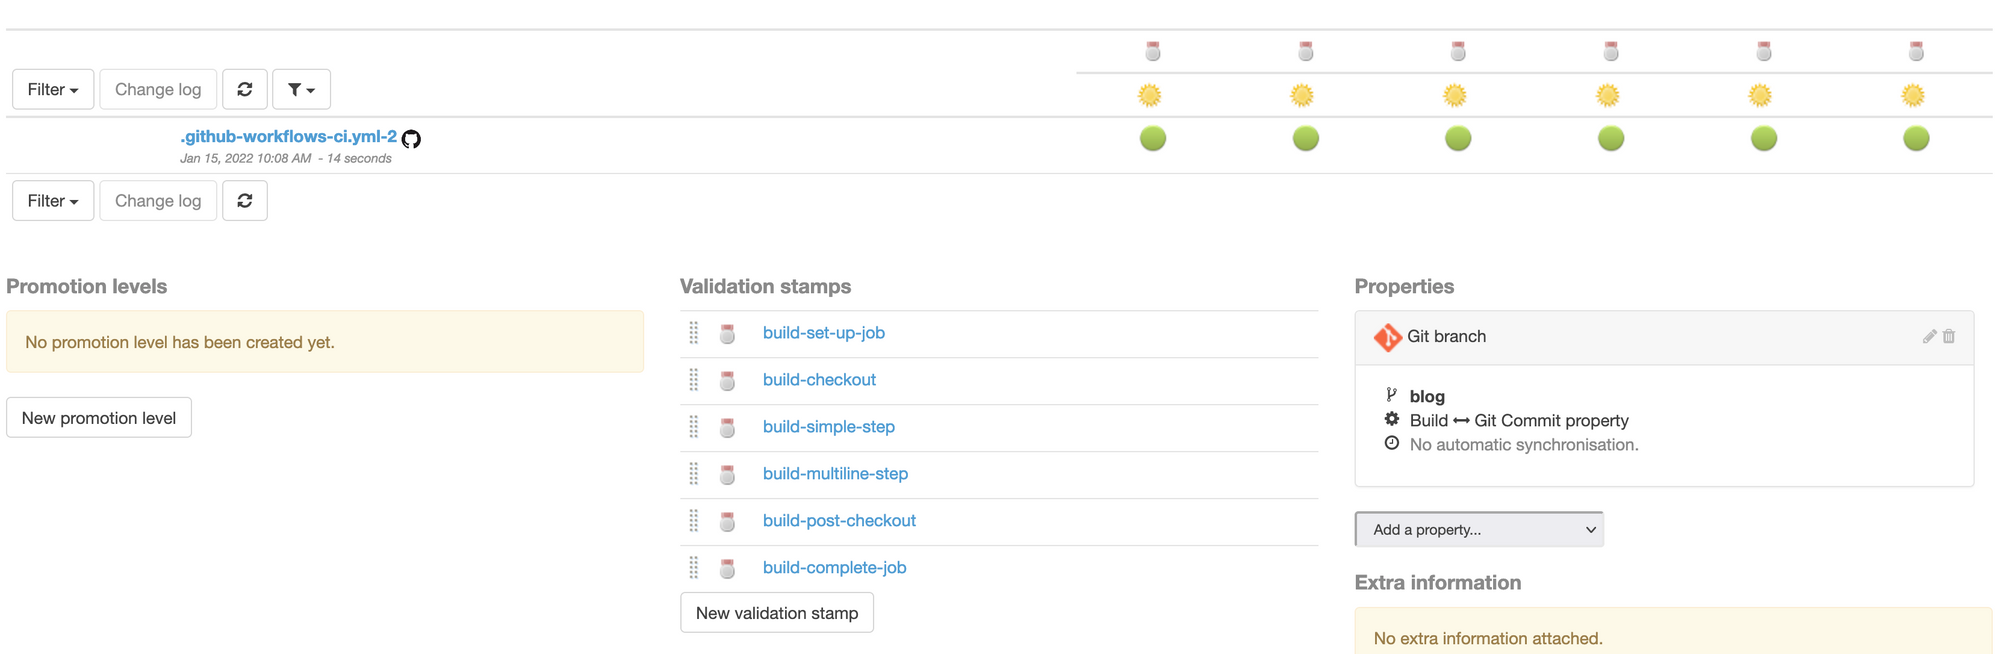
Your new build is now associated with some validations!
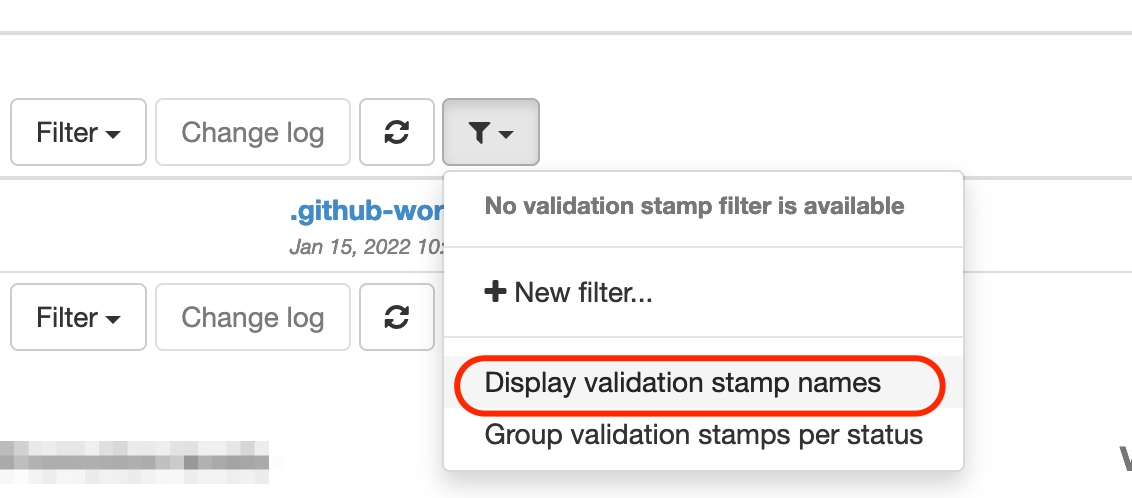
Let's display them in a better way by selecting the following options:
This displays:
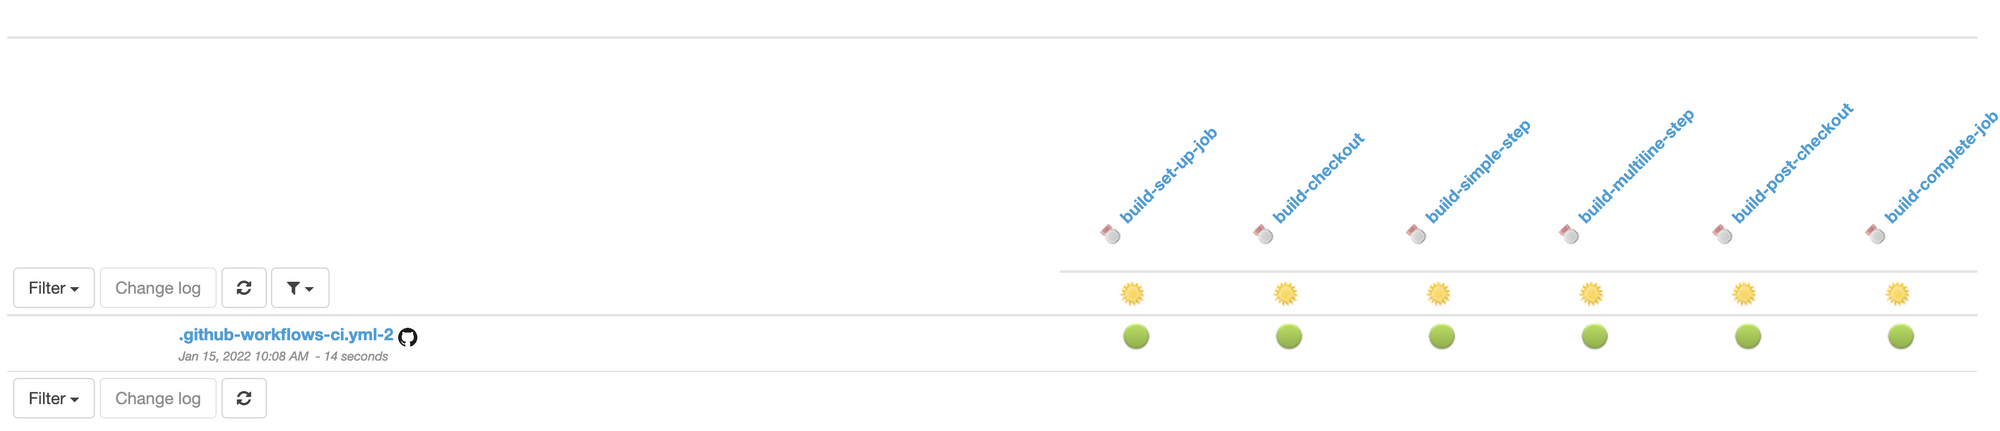
This is a bit more convenient to follow.
Now, the build name takes by default the name of the workflow run, which is the name of the file. Let's add a proper name:
name: ci

on:
...
Commit and push, wait for the GitHub Actions workflow to run and check your branch again:
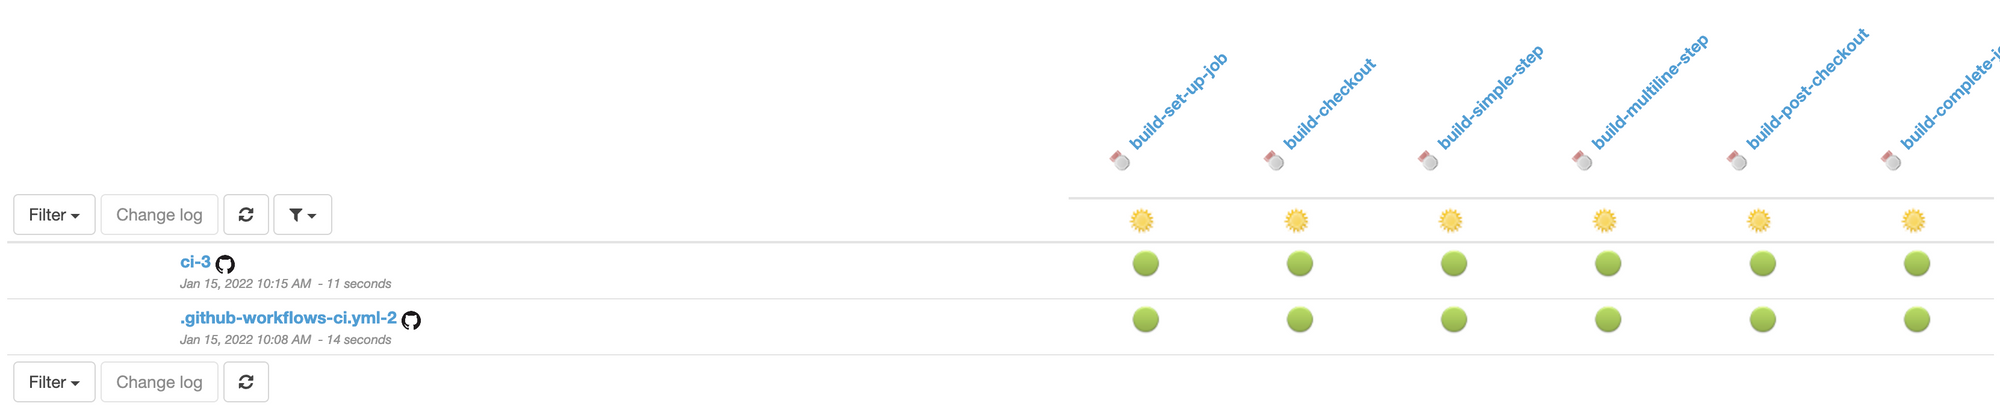
The build is now prefixed with ci which is the name of the workflow. The number behind is always the run number and cannot be changed.
If you click on a validation, like build-checkout, you can have more information, like the duration of this step, build after build.
Customizations
We have seen how to customize the way the Ontrack builds are named in Ontrack, but many other customizations are possible.
- creation of release labels using the Git tags
- setting up auto promotions
- filtering out steps or jobs
- adapting the naming of the validations from the step names
- considering the runs and the jobs as validations
- you can also track and configure the processing of the GitHub Actions workflows events
- etc.
For more information, you can go and consult the Ontrack documentation.
Conclusion
In this tutorial, we have seen how easy it was to ingest GitHub Actions workflows and to record their activity into Ontrack.
By working at event level in GitHub, we don't need to adapt any workflow (like it's been done in Jenkins for example) and by registering a webhook at organization level, you can have all the pipeline data of all your workflows in one unique place: Ontrack.
What's next?
- you can use the branch pages to have a unique place where to follow the state of your pipelines and you can interact and comment on the validations
- with all this data being available in Ontrack, you can start using it to display trends and histograms in Grafana, Kibana, etc.
- you can use the pipeline data to drive performance and process optimization in your delivery
What's not there yet? The GitHub Ingestion in Ontrack still lacks some features like the association of meta information or arbitrary data to the validations. This will probably come in a next version of Ontrack so stay tuned.
Links
- Ontrack
https://github.com/nemerosa/ontrack - GitHub Ingestion documentation
https://static.nemerosa.net/ontrack/release/latest/docs/doc/index.html#integration-github-ingestion