Creating a Docker Swarm at DigitalOcean using Terraform
Since version 1.12 of Docker, it has become fairly easy to create a Docker Swarm.
While many excellent blog articles deal very well with using the Swarm, they usually create them using VirtualBox. While this is simple enough to play and learn, it is not very satisfactory since that's not something we'd do in real.
I'm a long-time user of DigitalOcean and while I could have setup a Docker Swarm on this cloud manually, I wanted to automate the whole process, because, well, this is my job.
I chose to use Terraform because it is very easy to setup and to learn, and it has a decent support for the Digital Ocean API.
Warning - this is a success story, I manage to create a Docker Swarm on Digital Ocean, but I still have several concerns, see at the end of this article.
Enough talking, let's get this ready.
Prerequisites
Install Terraform on your machine.
First of all, you of course an account on Digital Ocean and you must create an API token. When done, export this token as an environment variable:
export TF_VAR_do_token="yourtoken"
Then, you need to create a SSH key pair for registration in Digital Ocean (the digitalocean_ssh_key provider does not allow to create them, only to register them):
ssh-keygen -t rsa -f ./do-key -N ""
This will create, in your current directory:
- a
do-keyfile for your private key - a
do-key.pubfile for your public key
Important: do not disclose your private key anywhere!
Terraform files
Get the Terraform files from GitHub:
git clone https://github.com/dcoraboeuf/blog-do-swarm.git
Configuration
The variables.tf defines all default values for the different configuration parameters. In particular:
swarm_master_countdefines the number of master nodes and defaults to 1swarm_agent_countdefines the number of agent nodes and defaults to 2do_agent_sizedefines the image size to use on Digital Ocean and defaults to 2 GB
Feel free to change any of those values.
Warning: Digital Ocean is a paying cloud platform so running this tutorial will generate some costs. The first hour is counted as a whole, so if you stay under one hour, the total cost for one master and two agents should be around 0.09 USD.
Create the swarm
In your current directory (where the SSH keys have been generated, just run:
terraform apply
After a few minutes, according to your settings, the following machines will have been generated on Digital Ocean:
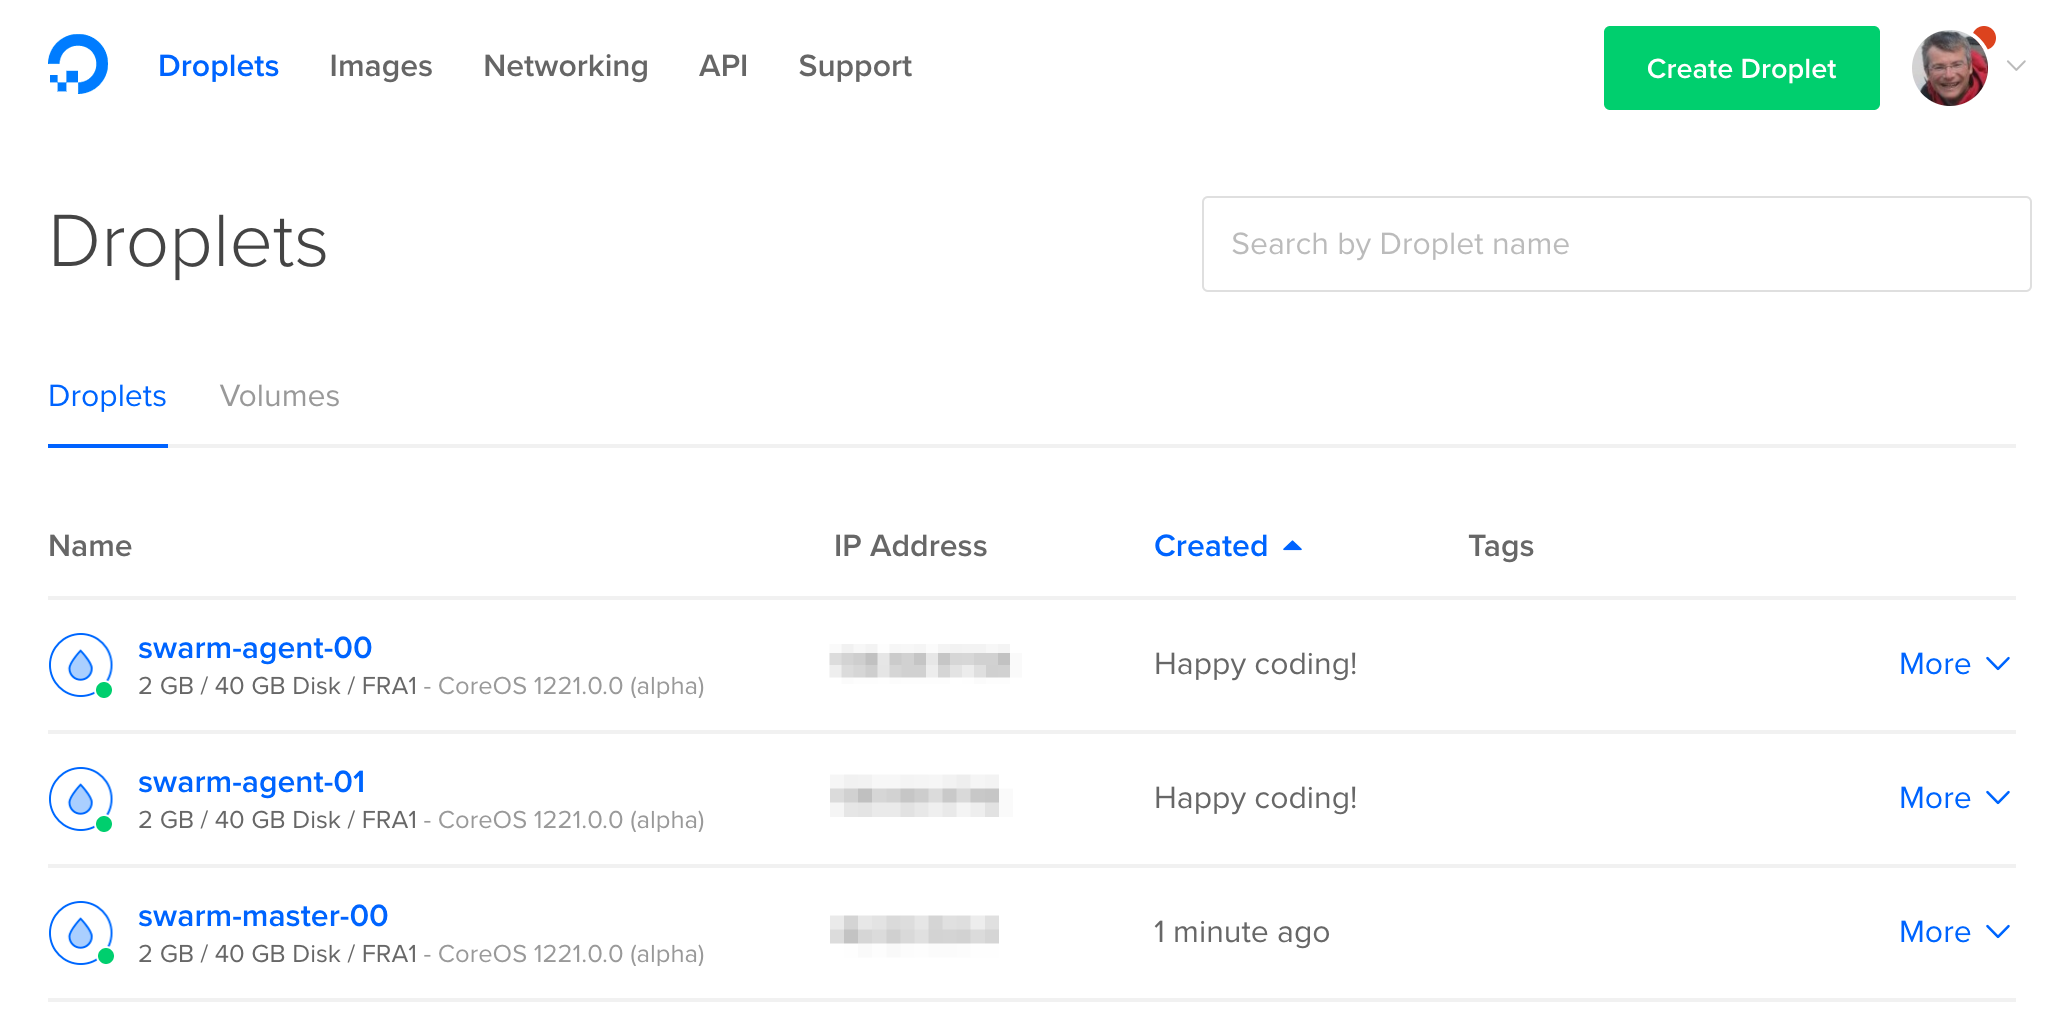
You can see the IP of the Swarm master in the console:

or you can get it using:
terraform output swarm_ip
Note that this IP is a Floating IP which is used to point to the first master created.
Create your first service
Deploy your first service using the connect.sh utility script. I like the docker-swarm-visualizer for its simplicity:
./connect.sh docker service create \
  --name=visualizer \
  --publish=8081:8080/tcp \
  --constraint=node.role==manager \
  --mount=type=bind,src=/var/run/docker.sock,dst=/var/run/docker.sock \
  manomarks/visualizer
You can monitor the status of the deployment by running:
./connect.sh docker service ls
The deployment is finished when 1/1 appears in the REPLICAS column:
ID            NAME        REPLICAS  IMAGE                 COMMAND
9l1ot9hrcbyz  visualizer  1/1       manomarks/visualizer
The visualiser is now available at http://ip:8081 where ip is the IP of your Docker Swarm as seen above.
On MacOS, just run:
open http://`terraform output -no-color swarm_ip`:8081
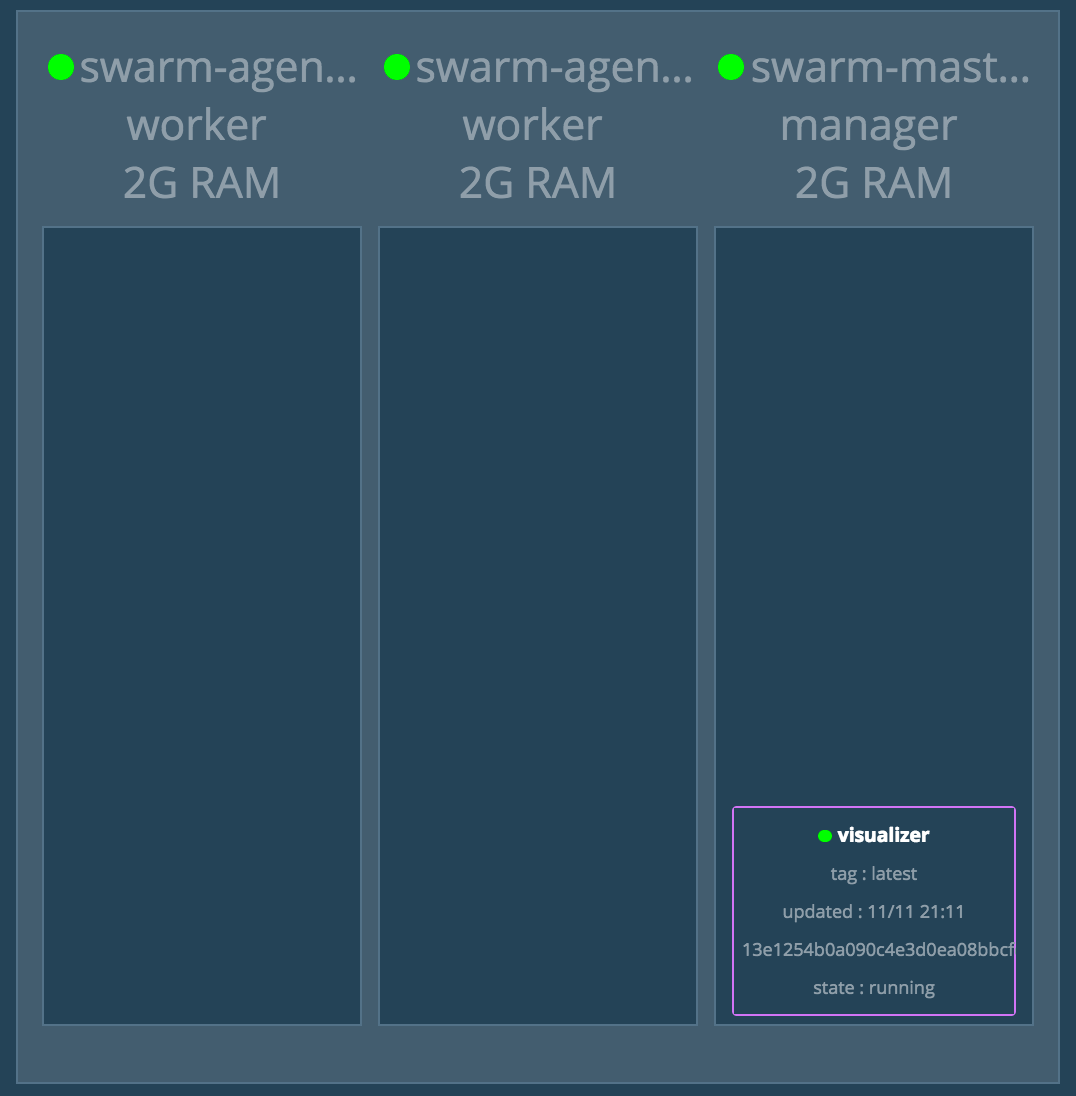
You should see:
Now, deploy another container, like my favourite application:
./connect.sh docker service create \
  --name=ontrack \
  --publish=8082:8080/tcp \
  nemerosa/ontrack:2.26.2
After a while, the service is deployed:
./connect.sh docker service ls
ID            NAME        REPLICAS  IMAGE                    COMMAND
9l1ot9hrcbyz  visualizer  1/1       manomarks/visualizer
cjyou0d5mank  ontrack     1/1       nemerosa/ontrack:2.26.2
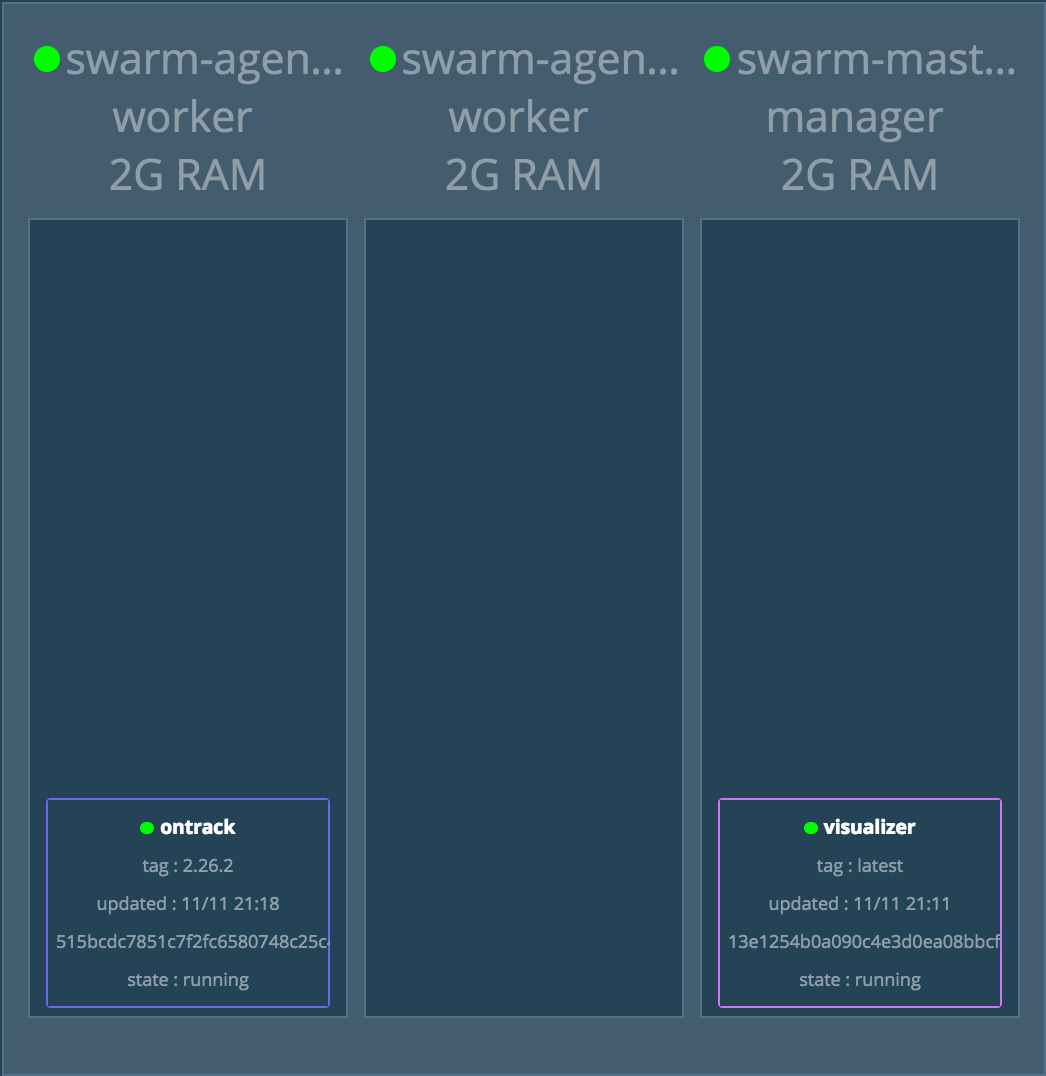
and visible in the Swarm:
and the Ontrack application is available at:
open http://`terraform output -no-color swarm_ip`:8082
Connecting to the swarm
The Docker Swarm daemon is not made available directly in this scenario and we have to connect only through SSH. Hence the use of the connect.sh script, which does not do anything more than using the local key pair to run a remote SSH command:
#!/usr/bin/env bash
SWARM_IP=`terraform output -no-color swarm_ip`
SWARM_USER=`terraform output -no-color swarm_user`
ssh \
    -o StrictHostKeyChecking=no \
    -o NoHostAuthenticationForLocalhost=yes \
    -o UserKnownHostsFile=/dev/null \
    -i do-key \
    ${SWARM_USER}@${SWARM_IP} \
    $*
Docker Swarm mysteries
Et voilà! You have a running Swarm.
Now, this is not, and by far, useable for a production-like story.
Why?
- integration with a secret database, like Vault, should be done to protect the SSH keys and generated tokens
- HTTPS proxies are missing
- monitoring and logging are missing - see the excellent blogs here and here about putting this in place
And above all, there is no plan for persistent and resilient storage. For example, the Ontrack application deployed above needs a file system. If the container shuts down or the corresponding node fails, the container will be redeployed on another node by Swarm, but its data, local to the container or the node, will be gone. Not good!
Solutions like Flocker, Convoy or GlusterFS do exist, but so far, I had no success making them work with Digital Ocean Block Storage option.
Any help or suggestion is actually welcomed here ;)
All must disappear
When you're done with the tutorial, you can get rid of all the resources you've created on Digital Ocean by running:
terraform destroy
Type yes and all's gone!